
01 — FLOOR TILING
I lay floor tiles in homes across Melbourne, and every job starts the same way. Before any tile goes down, I check the surface for level, movement and moisture. Every quote follows a free assessment of your property.
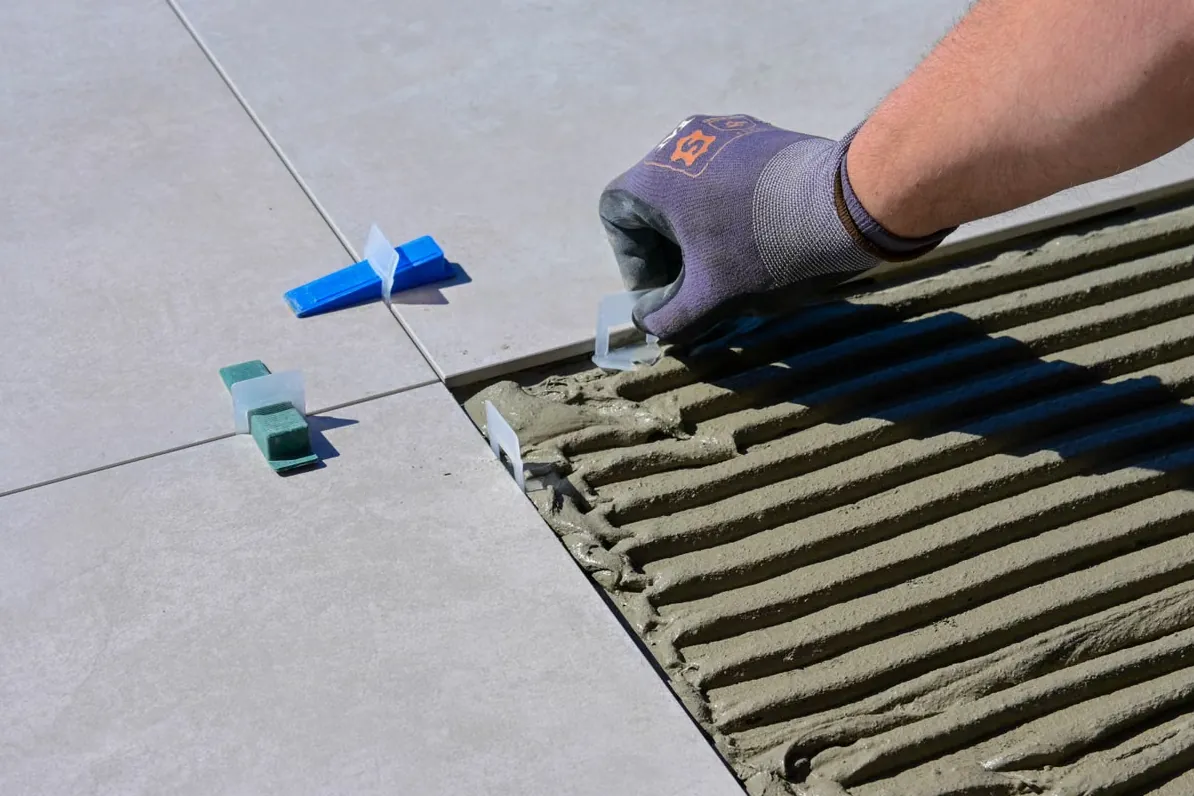
Bedding large-format floor tiles in adhesive
BEFORE ANY TILE GOES DOWN
Level. I run a straightedge and level across the room to find dips, humps and falls. If they aren’t dealt with, they show up in the finished tiles.
Movement. I check timber floors for flex and sheeting for loose spots, and look for cracks in a slab. I need to understand any movement before tiles go over it.
Moisture. A damp or moisture-affected substrate can stop the adhesive bonding properly. If I see signs of moisture, I’ll point them out and talk them through with you.
Existing tiles. Whether the old tiles come up, and what’s under them, gets worked out on site. I don’t assume it from a photo.
LAYER 04 — SUBSTRATE
Once the check is done, the surface gets cleaned and any problems are fixed. That can mean grinding high spots, filling low ones or fixing loose sheeting. The aim is a base that is sound, flat and ready for adhesive.
LAYER 02 — SETTING-OUT
Before anything gets mixed, I mark the floor out. That way the joints run straight through doorways and the cut tiles sit in places where nobody will notice them. Thin slivers at an entry or along a main wall are avoided where the room allows.
LAYER 03 — BED
I comb the adhesive out with a notched trowel and bed each tile firmly into it, aiming for good coverage underneath. Spacers keep the joints even. On larger tiles, levelling clips help keep the edges flush.
Most floor tiling jobs begin with one of these. Every one of them comes back to the same question: what is the tile actually sitting on?
I measure how far out the floor is, and where, before suggesting a fix. Small variations can often be corrected. Larger ones need a closer look before I can quote.
Lifting old tiles often reveals the real state of the floor underneath. That condition affects the scope of the job, so it’s discussed openly rather than glossed over.
SCOPE AND WHAT SITS BESIDE THE TILING
The scope of work, the quote and the timeframe all depend on assessing your property and the work you have in mind. That’s why the assessment comes first and is free.
Floors in wet areas may also need waterproofing, plumbing or electrical work. That work is separate from the tiling. Appropriately licensed specialists carry it out, and I can coordinate them where needed. You can see how it fits together in Tiling and What Sits Beside It and on the Bathroom Tiling page.